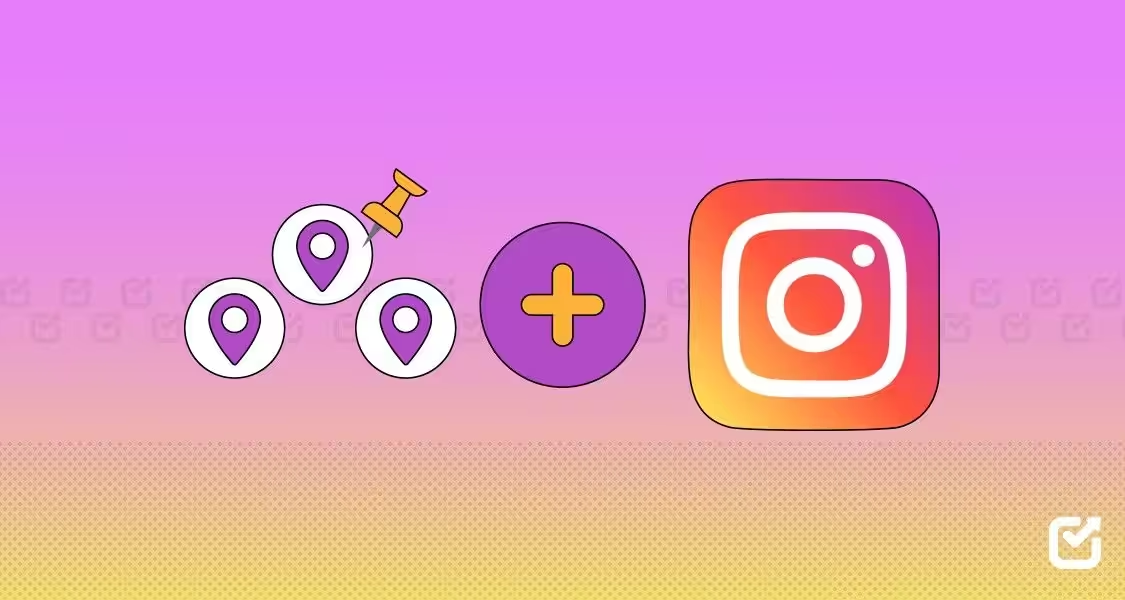
Adding a location on Instagram does more than show where you are. It helps people actually find your posts instead of scrolling past. In fact, posts with a location tag get 79% more engagement. That means more likes, comments, and shares landing right in your feed.
Short Summary
- Adding a location increases your post’s visibility and can boost engagement.
- Location tags work differently across posts, Stories, Reels, and business profiles.
- You can easily tag existing locations, but creating a custom location requires setting it up through Facebook first.
- Accurate business locations improve local search visibility, build trust, and make it easier for customers to find and tag you.
- Planning location-based posts in advance keeps your content consistent, relevant, and more effective for local campaigns.
Locations work a little differently depending on what you’re posting. Standard posts, Stories, Reels, and Business profiles each have their own way of doing it. You can tag an existing location in seconds, but creating a custom location takes a few extra steps that most guides forget to mention.
Using an Instagram scheduler makes it even easier to plan posts with the right locations in advance. It also helps you stay consistent so your audience always knows where to find your best content.
This guide walks you through all the steps of how to add location on Instagram to grow your audience, helps you troubleshoot any hiccups, and shares best practices that actually make your content stand out.
Schedule Location-Based Posts
What Does Adding a Location on Instagram Do
A location tag shows where your post, Story, or Reel was created. It helps people find your content and provides additional context for what you share.
Using a location can bring several benefits, including:
- Discovery: Posts with a location are easier for new people to find.
- Local visibility: Nearby users can see your content when they search for that area.
- Context for posts: Your audience knows where you are and what the post is about.
Featured Guide: How to Add Location Tags With Social Champ
Why Add Location on Instagram
Adding a location does more than tag a place. It gives your content a boost, whether you are posting for fun or promoting a business.
Here’s how it helps:
-
Increased Reach
Adding a location gets your posts in front of more people, even those who aren’t following you yet. Think of it as putting your content on a mini stage where new audiences can discover your vibe. More eyes mean more likes, comments, and chances to go viral.
-
Local Audience Targeting
Want to connect with people nearby? Locations help you reach folks in your area who are actually interested in what you share. It’s perfect for local businesses, events, or creators looking to grow a community right around you.
-
Trust and Relevance
Showing where you are adds credibility and context to your posts. Followers see exactly where things are happening, which makes your content feel real, relatable, and worth paying attention to.
Using locations wisely can grow your audience, attract the right followers, and make your content more engaging.
How to Add Location on an Instagram Post
Adding a location to your post is simple and can help more people discover your content. Follow these steps:
- Open Instagram and start a post
Tap the plus icon and choose “Post.” 4")
Tap the + Icon and Select Post - Select media from gallery
Choose a photo, video, or carousel of multiple images, and tap “Next.” 5")
Select Media - Edit your content
Add filters, crop, or adjust your photos and videos until they look perfect, then tap “Next.” 6")
Edit Your Content - Tap “Add Location”
Below the caption box, you’ll see the option to “Add Location.” Tap it. 7")
Tap Add Location - Choose a location
Select an existing location from the list or search for a place nearby. 8")
Select Location It’s important to note that custom locations require extra steps outside of Instagram.
- Finish your post
Write your caption, tag people if needed, and hit “Share.” 9")
Hit Share The location will show above your caption on the post. Users can tap it to see other posts from the same spot.
Featured Article: Find the Best Time to Post on Instagram
How to Add Location on Instagram Story
Adding a location on an Instagram Story works differently from a regular post. Instead of appearing above a caption, Story locations show up as interactive stickers that people can tap to explore other Stories from the same spot.
Here’s how to do it:
- Open Instagram and start a Story
Tap the plus icon and choose “Story.” Alternatively, you can tap your profile picture with the plus icon to start a new Story. 10")
Tap the + Icon and Select Story - Capture or upload content
Take a photo, record a video, or upload something from your gallery. 11")
Upload Media - Add a location sticker
Tap the sticker icon at the top of the screen. 12")
Select the Sticker Icon - Select “Location.”
Select the Location Feature. 13")
Select the Location Feature - Choose your location
Search for your spot and tap to add it. 14")
Add Your Location - Resize and place the sticker
Move the sticker wherever it fits best. 15")
Resize and Adjust Sticker Pinch to make it bigger or smaller; just make sure it doesn’t cover important parts of your Story.
- Share your Story
Once everything looks right, tap “Share” to post it. 16")
Tap Share
That’s how to add a location on Instagram on Stories. Adding a location sticker gives your Story extra reach and makes it easier for people nearby to discover your content.
So, don’t skip this step if you want your Stories to get noticed.
Featured Article: How to Become Instagram Famous
How to Add Location on Instagram Reel
Adding a location to a Reel works a bit differently than posts or Stories. You don’t get an overlay sticker while editing. Instead, the location is added during the publishing step and appears above your caption.
Follow the following steps to add a location on Instagram Reel:
- Open App and Add Reel
Tap the plus icon and select “Reel.” 17")
Tap the + Icon and Select Reel - Create your Reel
Tap the camera icon to record your video, or upload clips from your gallery. 18")
Add Media Add music, effects, or text as usual.
- Tap “Next” to go to the publishing screen
This is where you add your caption, cover, and other details. 19")
Tap the Next Button - Add a location
Tap “Add Location” below the caption box. Search for the place and select it. 20")
Select Add Location - Share your Reel
Once everything looks good, tap “Share.” 21")
Tap to Share Your Reel
Your location will appear above the caption, letting users explore other content from the same spot.
However, unlike Stories, you cannot overlay the location directly on the video. It only shows the above caption after publishing.
How to Add Location on Instagram After Posting
You don’t have to panic if you forgot to add a location when posting. Instagram lets you edit most posts to include or change a location.
Follow these steps to add a location on Instagram after posting:
- Open your post
Go to your profile and tap the post you want to update. - Tap the three dots
You’ll see this at the top right of your post. 22")
Tap the Three Dots - Select “Edit”
This opens the caption and other editable fields. 23")
Select Edit - Add or change the location
Tap “Add Location” to search for a new one. Select the correct spot. 24")
Add Location - Save your changes
Tap “Save” to update your post. 25")
Tap to Save Changes
And that’s how to add location on Instagram after posting.
Besides adding location, what else does Instagram allow you to do? You can change or add a caption and tag other people on the post.
What you can’t do is replace the original photo or video once the post is live.
Auto-Publish Stories & Reels
How to Create a Custom Location on Instagram
Instagram does not create custom locations all by itself. It borrows location data from Facebook, so if your dream spot does not exist yet, Facebook is where the magic happens first.
Once you create the location there and it gets approved, it can show up on Instagram, too.
Here’s the simple game plan to make that happen:
- Open Facebook and go to check-in
You can do this from the Facebook mobile app or website. Start a post and click “Check in.” 26")
Select Check In - Search for your location
Type the name of the place you want to add. If it doesn’t exist, scroll to the bottom and select “Add [Your Place].” 27")
Select Add Custom Location - Fill in the details
Enter a name for your location, choose a category (like restaurant, park, or store), and add the address. 28")
Create Custom Place Make sure the name is clear and accurate.
- Publish the location
Tap “Save Custom Place.” Facebook may take some time to process it before it appears on Instagram.
What to expect:
- Approval time: New locations can take a few hours or even a day to appear on Instagram. Be patient.
- Visibility: Only public locations can show up for everyone. Private or restricted pages might limit who can see the tag.
- Naming limits: Keep it concise and accurate. Avoid special characters or long, complicated names, as Instagram may reject them.
Once your custom location is live, you can tag it in posts, Stories, and Reels. It will give your content a unique, branded spot that helps followers discover it.
How to Add Your Business Location on Instagram
Adding a location to your business profile helps customers find you and builds trust. Instagram pulls location data from your Facebook Business Page, so linking them is key.
Here’s how to do it:
- Switch to a Business or Creator account
Go to your profile settings and confirm you’re on a Business/Professional or Creator account. 29")
Switch To A Professional Account - Link your Facebook Page
In Settings > Business > Connect a Facebook Page. Your business location will sync from Facebook. - Add or confirm your location
For local businesses with storefronts, make sure the address is accurate. Service-based businesses can also add a service area. - Enable location display
Check that your location is visible on your profile so users can see it when visiting your page or tagging your business.Here’s a short checklist for accuracy:- Address: Make sure the street, city, and zip code are correct.
- Category: Pick the category that best fits your business.
- Visibility: Confirm your location is public so customers can find and tag it.
A properly added business location does several things:
- It makes it easier for people to discover your store or service
- It improves local search
- It encourages engagement with your brand.
Featured Article: How to Build a Linktree on Instagram
Best Practices for Using Location Tags on Instagram
Location tags can do a lot of heavy lifting for your posts if you use them wisely. Following a few smart strategies will make your content more discoverable and fun for your audience.
Here are some practical tips for using location tags on Instagram:
-
Use Relevant Locations Only
Tagging random places might seem harmless, but it can confuse your audience fast. People may lose trust if your location does not match your content.
Instead, choose a location that clearly connects to your post. This way, your content feels intentional, and your audience knows exactly what they are looking at.
-
Avoid Misleading Tags
Chasing trendy locations just for visibility can backfire. Followers notice when something feels off, and that can hurt your credibility.
So, stick to honest and accurate tags that reflect where you actually are. When your location matches your content, engagement feels natural and earned.
-
Combine With Hashtags Wisely
Using a location without supporting hashtags can limit your reach. Your post may not get the extra visibility it deserves.
To boost discoverability, pair your location with relevant hashtags that match your niche. This combination gives Instagram stronger signals about who should see your content.
-
Keep It Visible and Readable
If your location sticker is hidden behind text or squeezed into a corner, people may ignore it. Missed visibility means missed interaction.
The best strategy is to place your tag where it stands out without blocking important visuals. Clear placement makes it easy for viewers to tap and explore.
-
Update When Needed
Outdated or incorrect locations can confuse followers and customers. For businesses, this can even lead to lost opportunities.
Take a moment to review older posts and fix any location errors. Keeping your tags accurate ensures your content stays relevant and easy to find.
Using location tags smartly can increase engagement, attract the right audience, and make your content easier to discover. Have fun with it and watch your posts reach new places.
How Social Champ Helps Plan Location-Based Instagram Posts
Planning location-based content takes more than just adding a tag at the last minute. You need strategy, timing, and consistency to make it actually work for your brand.
Social Champ gives you the control to plan ahead, align your posts with specific locations, and keep your local strategy running smoothly without daily guesswork.
Here are the ways it helps you stay organized and intentional with your location-based Instagram content:
-
Planning Posts With Location Context
When you plan posts around specific locations, your content feels intentional instead of random. You can align your messaging with store launches, city events, neighborhood promotions, or regional trends so your audience feels like you are speaking directly to them. That level of relevance increases engagement and helps you connect with the right crowd at the right time.
Social Champ helps you map this out in advance so you are not scrambling to match captions and locations at the last minute. You can schedule posts with a clear purpose, organize them by campaign, and make sure each piece of content supports your local strategy in a structured way.
-
Consistent Posting for Local Campaigns
Local campaigns lose momentum when posting feels inconsistent. If you promote an event or offer in one burst and then go quiet, your audience forgets quickly. Consistency keeps your brand visible and reinforces your message across days or weeks.
Social Champ lets you schedule location-based posts ahead of time so your campaign runs smoothly without daily manual effort. You stay active in specific regions, maintain steady visibility, and ensure your audience keeps seeing timely content tied to their area.
-
Organizing Content Calendars
If you manage multiple locations or campaigns, things can overlap, get skipped, or lose focus. A clear calendar helps you see the bigger picture and maintain balance across regions.
Social Champ gives you a visual content calendar where you can view, adjust, and optimize your entire posting schedule in one place. You can quickly spot gaps in your local campaigns, avoid duplication, and keep your location strategy organized and consistent.
Strong location-based planning helps you reach the right audience with the right message at the right time. With Social Champ, you can stay organized, consistent, and fully in control of your Instagram strategy.
Access Analytics for Locations
Conclusion
Adding a location on Instagram does more than fill a line above your caption. It boosts reach, improves local visibility, and builds trust, especially when you understand how posts, Stories, Reels, and business profiles handle locations differently. When you use location tags with intention, your content becomes easier to discover and more relevant to the right audience.
Planning ahead makes the biggest difference, especially for local campaigns and multi-location brands. That’s where Instagram management tools like Social Champ give you the edge. With smart scheduling, organized content calendars, and consistent posting tools, you can plan location-based Instagram posts with clarity and confidence instead of guesswork.